Northampton World Masters 11th September
|
|
|

All three cars were race winners over the weekendRoy
|
|
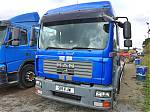
JJ's MAN 2 axle rigid is coming up for 15yrs oldRoy
|
|
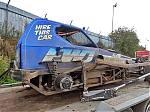
A nerf rail to repair on this Wainman hire carRoy
|
|
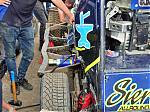
A max 20 ton porta power in use on the H642 nerf railRoy
|
|
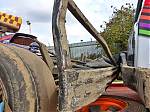
515's well used front bumper shows its Ipswich battle scarsRoy
|
|
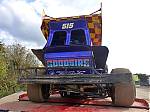
515 - The distinctive lines of the car are highlighted from this angleRoy
|
|
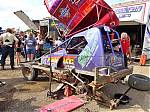
Rear shocker change on 55Roy
|
|
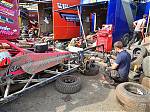
Front corner work on Phoebe'sRoy
|
|
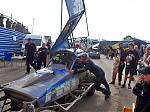
Danny pushes NZ3 onto the scales after Mitch's fine 3rd place finish in the World MastersRoy
|
|
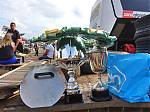
The World Masters trophy and garland in the victorious 16 pitRoy
|
|
| 70 files on 5 page(s) |
 |
 |
5 |
|
